Seat a table
What it's for
Seating a table starts a dine-in order against a specific table, so the kitchen, the bill, and your floor view all know where the food is going. You can seat a single table or join several tables for a larger party.
Where to find it
The floor map lives inside the POS. Open the POS, then expand the floor map to see the whole room.
- Web
- iOS
- Android
In the POS, click the expand control on the floor pane to open the Floor map workspace.
In the POS, tap the floor map to open it full-screen.
In the POS, tap the floor map to open it full-screen.
Walkthrough
- Web
- iOS
- Android
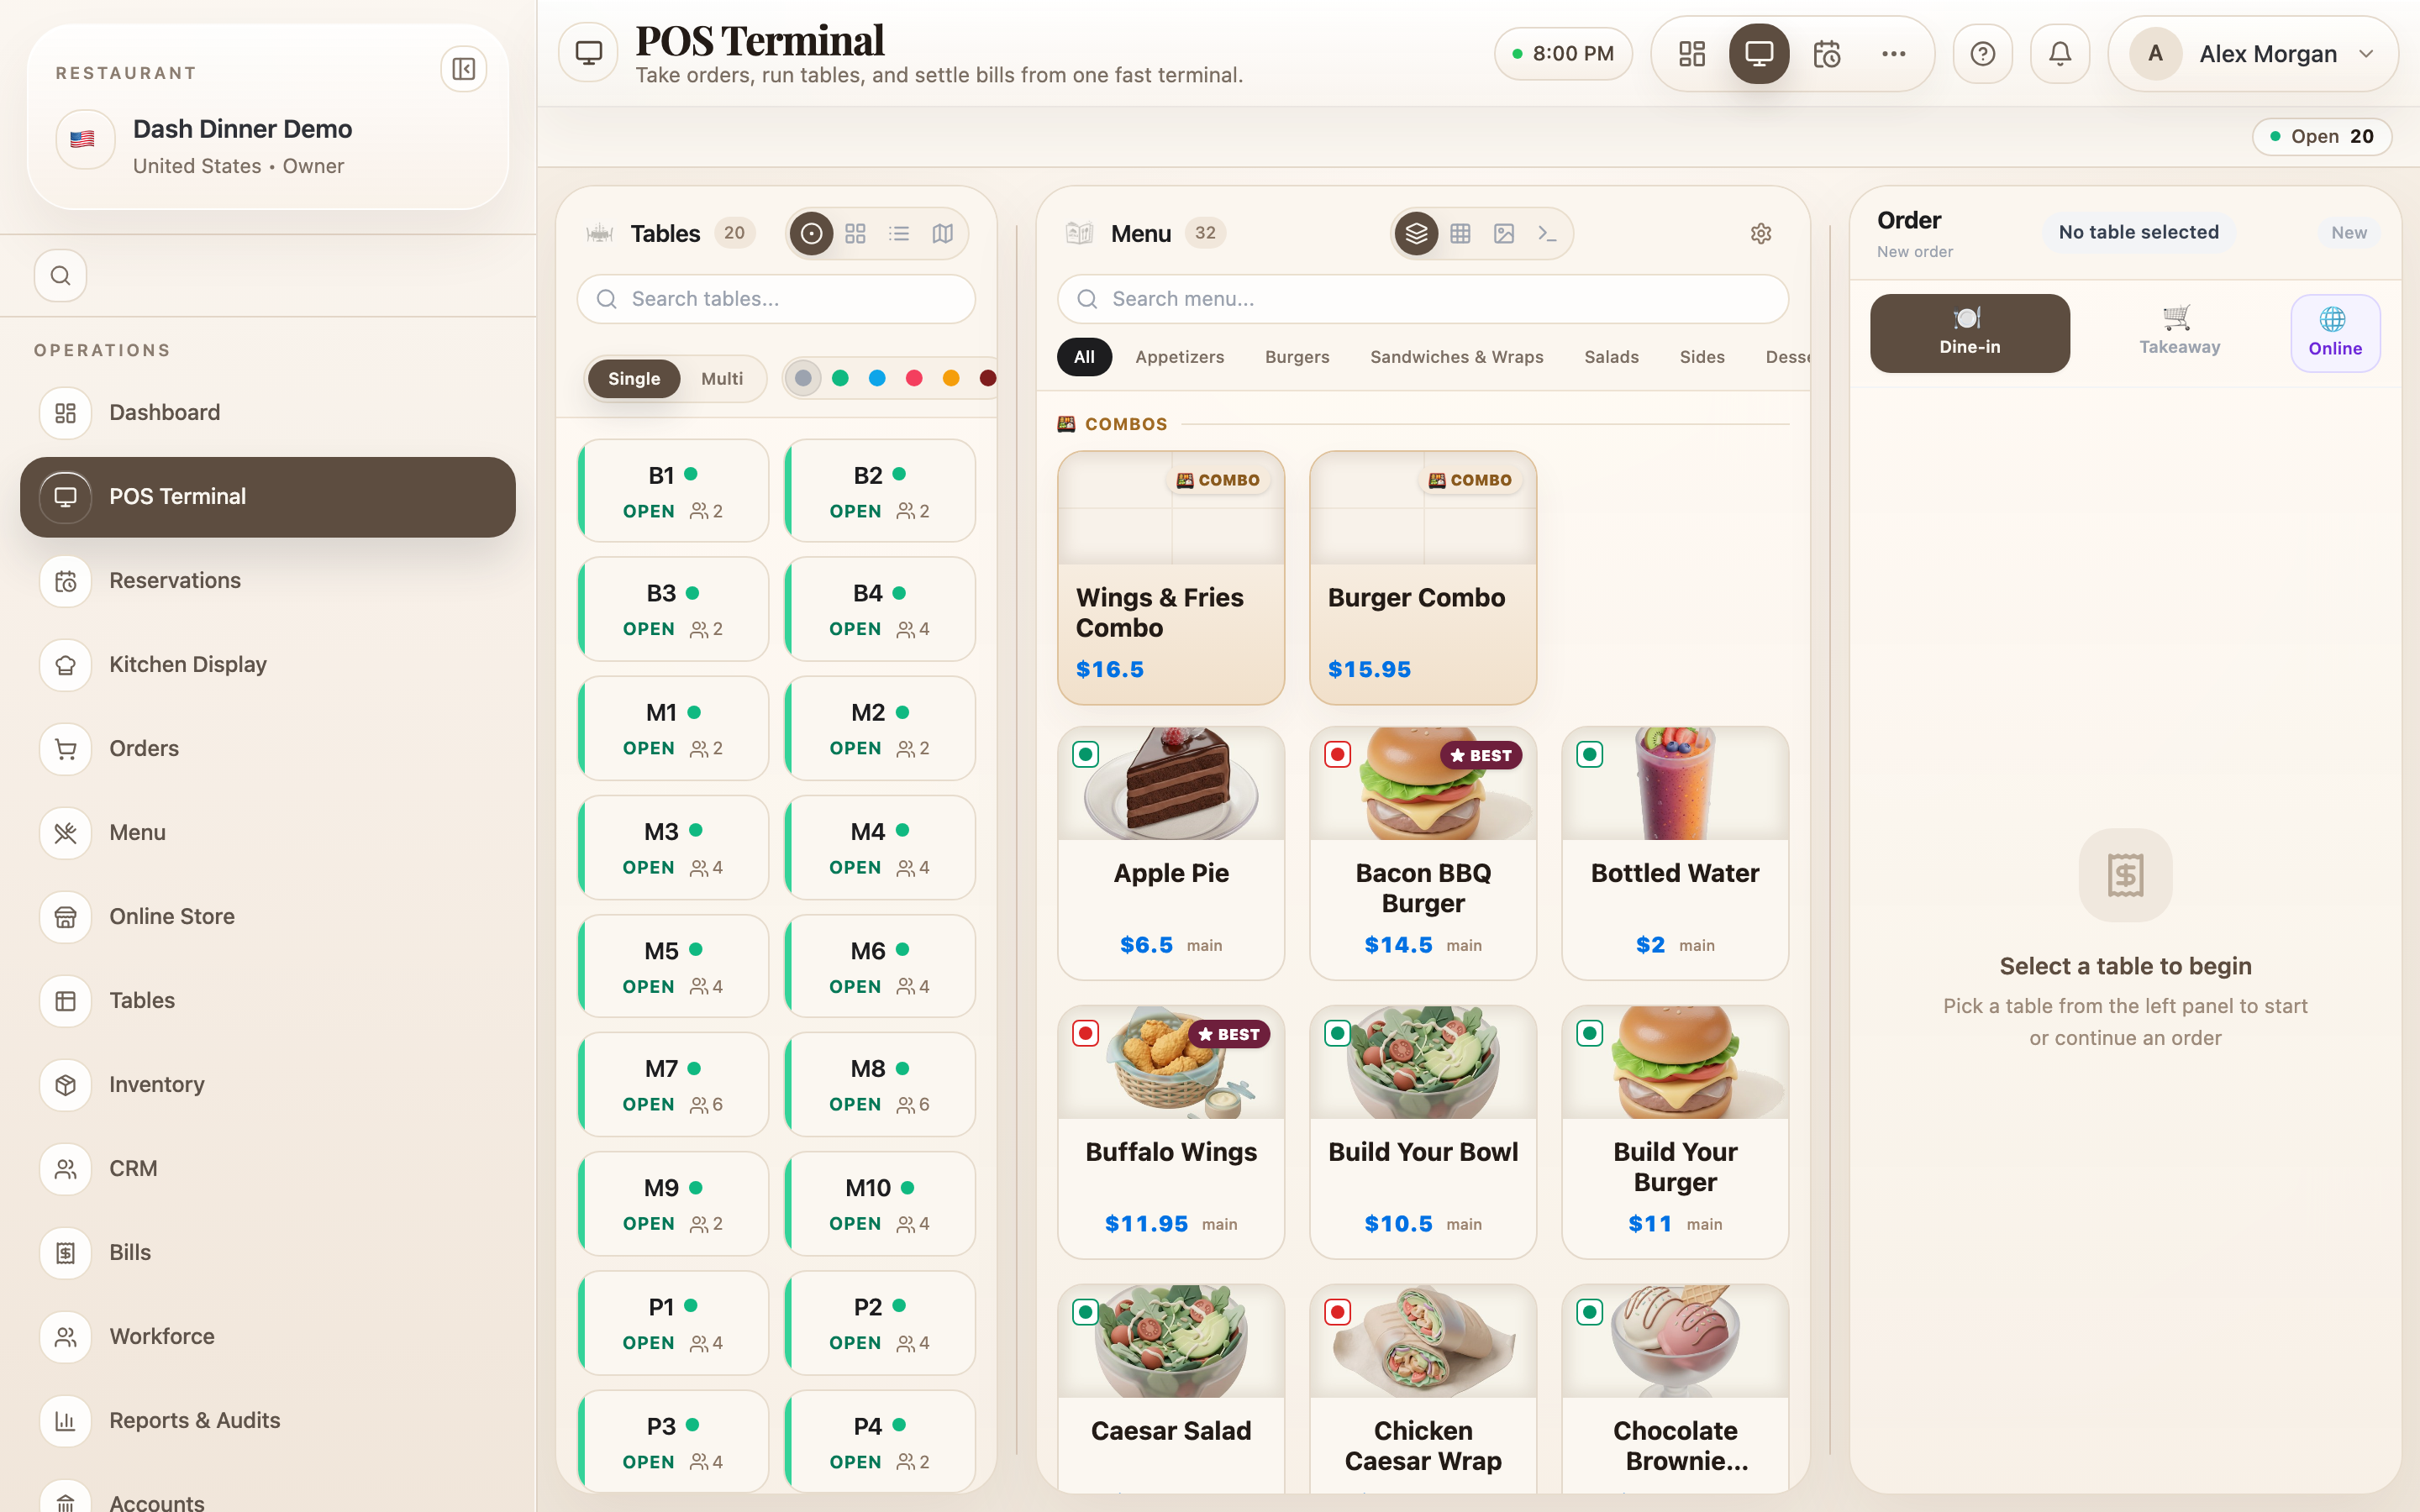
- Open the Floor map workspace. Free tables and occupied tables are colour-coded so you can read the room at a glance.
- Leave the mode on Single to seat one table.
- Click the table you want — a prompt confirms "Tap a table to focus it."
- Choose Continue to order →. The order panel opens against that table, set to Dine-in.
- Open the floor map.
- Tap the table you want to seat.
- Tap Seat to start a dine-in order against that table.

- Open the floor map.
- Tap the table you want to seat.
- Tap Seat to start a dine-in order against that table.

Joining tables for a large party
To seat a party across several tables, switch the map to Multi, tap each table in the group (the prompt reads "Tap tables to build a joined selection"), then choose Done · 3 (the number reflects how many you picked). The order is billed as one. To review existing groups, use Manage Joined Tables.
Worked example
A party of six arrives with only four-tops free. Open the floor map, switch to Multi, tap tables 5 and 6, and choose Done · 2. DashDinner joins them into one order, so the whole party lands on a single bill at the end.
Tips & things to watch
- ✅ Seat before you take the order for dine-in, so items are tied to the right table from the first tap.
- ⚠️ A table shows occupied only after you seat it. Simply marking a table won't start an order — use Continue to order → (web) or Seat (mobile).
- ⚠️ Multi needs at least two tables. The confirm button stays Select 2+ until you've picked a second one.